Monday, September 27, 2010

Bathroom Stool

Ever since girly #1 was potty-trained, we’ve been on the look out for a good sturdy stool to go in the bathroom. You know, something they can get up on and play in the faucet to overflow the sink and get water everywhere wash their hands.

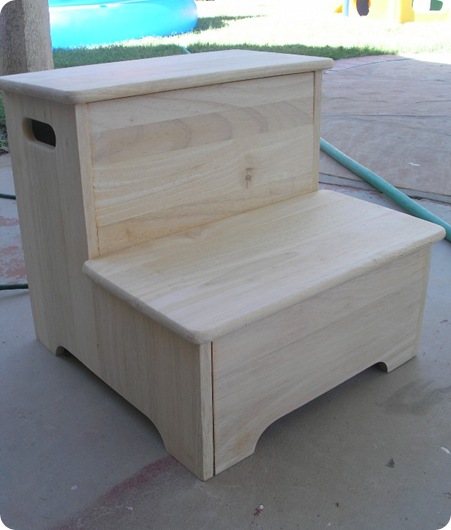
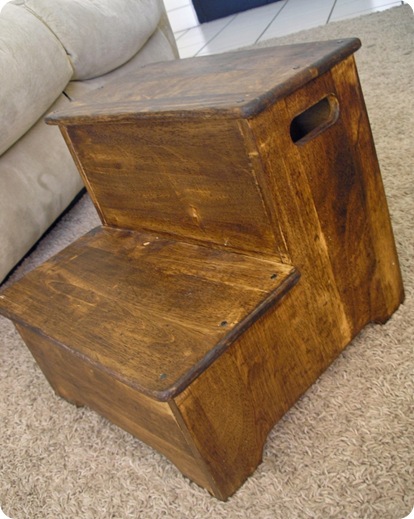
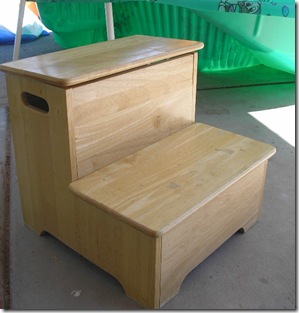
Eventually, my husband came across this one at Savers for $10. It was more than we wanted to spend, but still a decent price for a solid wood stool. . . .

P9040010

It definitely needed a good cleaning, and the hardware inside for the open top was broken.

So I opted to just remove all the broken hardware and have my husband secure the top down with a few nails and some wood glue.

After the glue was set, I went about stripping the stool of its thick coat of poly . . .

P9040011

I did this with my handy palm sander and 60-grit sandpaper. I knew I wanted to stain the wood, so I needed to use the extra rough paper to make sure I got down to the bare wood. Then I went over it with 100-, 150-, and 220-paper to make it nice and smooth (didn’t want the girlies hitting any rough spots with their little feet :).

P7290084

Once all the poly was off and the wood sanded smooth, I just used a bit of provincial and dark walnut stain all over.

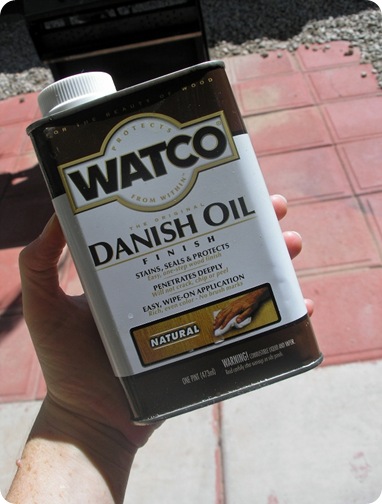
Then I sat back at let it dry for a day or two. When it was good and dry, I did a couple of coats of Danish Oil to seal the wood, cause I am sure this little stool will see it’s fair share of water. My girls are the WORST at keeping the bath water IN the bath :P

P9250031

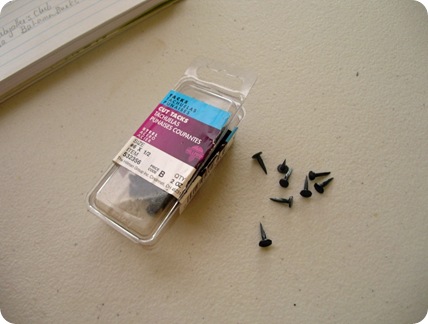
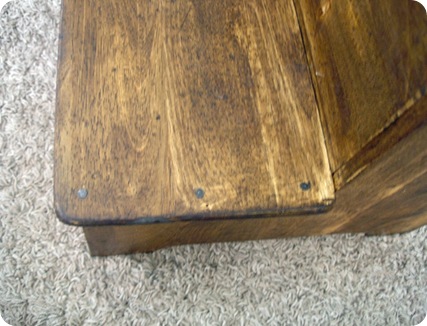
I loved the look as is, but to give it a little more character I decided to use a few tacks along the steps to make it look even older . . .

P9250030P9250037

And I was done!

P9250033

Just the look I was going for and much better than before!

P9040010 P9250033

xoxo


P.S. Some Halloween decor *might* have crept out over the weekend. Is it too early?? ;)

Sunday, September 19, 2010

How I did my numbered chairs??

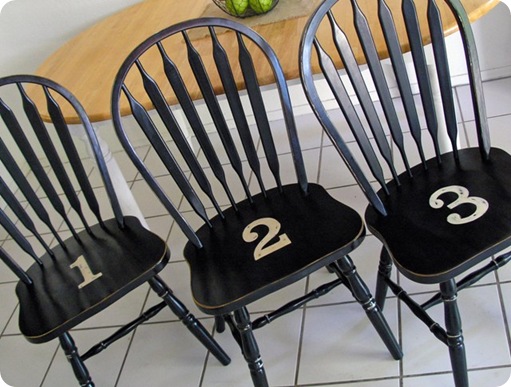
Since my post on my farmhouse table, I’ve had a lot of requests for a tutorial on how I did my painted number chairs . . .
P7150008

Honestly, I’ve hesitated doing a post on them cause it was one of those things that didn’t turn out right the first time. So I hummed and hawed over it (for about a year!) and then tried something else. Fortunately that worked out and I really liked the finished project.

Thank goodness!

However, I would never say the way I went about it was the best way to do it. Nor the least cost effective . . . unfortunately. But I’ll show you what I did and if it helps someone else out, then great! If not, then at least you’ll know how to not go about refinishing your kitchen chairs ;)

So I started out with simple wood and white farmhouse chairs . . .

P4010041

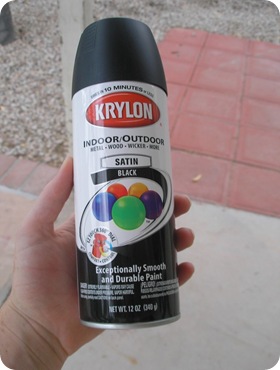
I had seen lots of similar tables done in black, so I decided I would keep the wood natural and just spray paint the backs and legs of the chairs black. I decided on spray paint because I knew I wasn’t going to actually be “painting” very much surface area. This is where you can learn from me. If I knew I would have ended up painting the entire chair, I would have brushed on the paint . . . much cheaper than the 12 cans of spray paint I ended up using! Yikes!

Also, I don’t know if you can see, but the backs of the chairs have lots of little (annoying!) spindles. And in order to keep the spray paint off the seats of the chairs, I had to meticulously tape off everything that wasn’t white. Wow! That was quite the job!! Did I mention how ANNOYING that was?! One would have been bad enough, but then times that by 6. Bleh.

Especially since in the end I painted the seats anyway!

Can you tell I’m still a little bitter about that? He he . . .

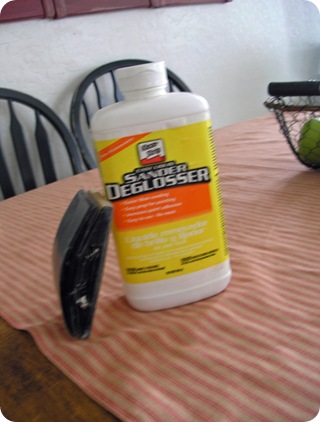
Okay so I taped off everything that wasn’t white with blue painter’s tape and newspaper, sanded down the white area, and then went over everything with a deglosser just for good measure . . .
P7290079

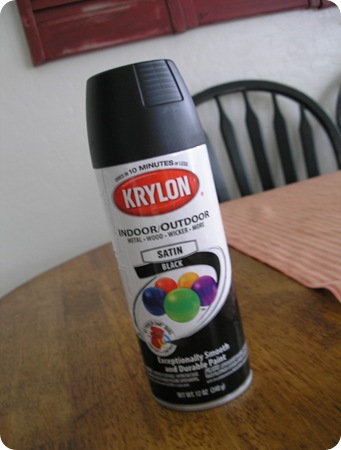
At the time I was not planning on distressing the chairs, so I went ahead and used a grey spray primer as well. Again, if I knew I’d end up distressing the chairs, I would not have chosen to use primer at all.
P7290081

Then I sprayed everything black.

Waited for it to dry and took off all the tape and black newspaper . . .

………

*crickets*

………

Um, let’s just say I was not in love.

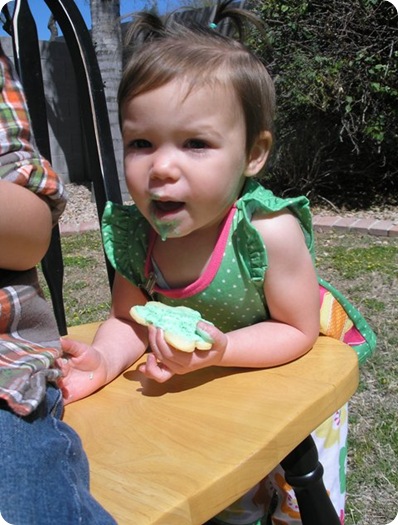
I didn’t take any intentional after pictures, but I dug through my family pics and came across this one where you can *kind of* see what they looked like . . .
P3170038

Don’t be swayed by the cutie patootie playing on it either! She was enjoying St. Patrick’s Day :) But I’d even tried distressing the black a bit to see if I would like it any better. Well, it only made it worse. The original white paint showed through way too much.

I tried to convince myself that I would love it in the end. So I went ahead and finished all six chairs. But it never was meant to be and all six of my chairs sat for a year and a half while I figured out what I was going to do with them now!

I really only had two choices . . . spray them all black OR strip the black and start all over. I felt like I’d already invested so much time getting them black that I would just stick with the black. Then one night while I was lying in bed (random, I know) I thought of painting numbers on the seats. I liked the idea right away and went for it!

So I bought another 4 more cans of black spray paint, prepped the seats and finished spraying all the chairs.

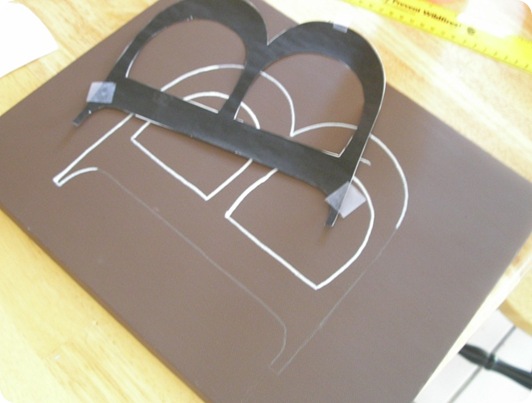
Next I painted the numbers on the chairs. I used the same method that I did for my painted canvases. I just print out the letter/number in whatever size I need, tape it in place, then trace around it using a paint marker. For the chairs I used the font Roundslab Serif that I downloaded from dafont. It’s one of my favorites!
P9040030

Since painting the canvases, I also learned another helpful trick. When printing out your letter/number click “Outline” in the printing options. That way just the outline of the number prints out and you don’t end up using up all your black ink!

P9190004

Then I just filled in the number with vintage white craft paint using some simple brushes I picked up at Wal=Mart.
OLYMPUS DIGITAL CAMERA

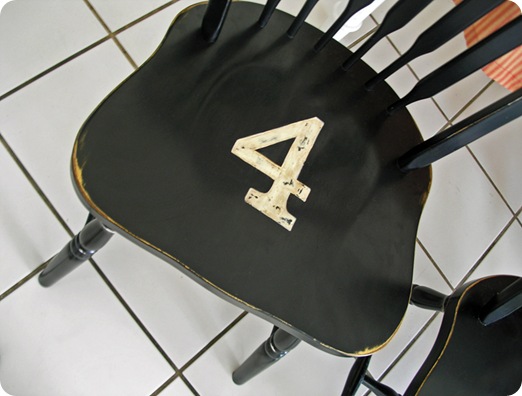
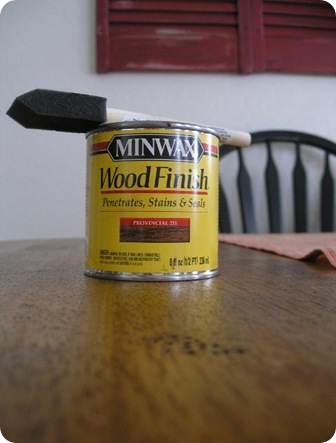
I chose to go ahead and antique the number and distress the edges of the chair as well. But they would look good left as is too! I did a brown glaze over the number, but for the edges of the chair I just rubbed in some provincial stain and then wiped off the excess.
P7290084

This helped because after distressing the edges, some of the original white paint of the chair showed through. After staining it, the white turned more cream and looked better with the rustic look of the chairs.

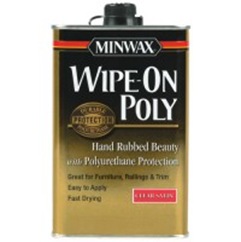
And last but not least, I finished everything off with some wipe-on poly.
wipe-on-poly-200x200

As I’ve said before, I’m not in love with polyurethane, but in order for the black to not chip off and for the painted numbers to not come off when wiping up lots of spills, messes, crumbs, and sticky stuff (the life of a mom :) . . . I needed to use it. I chose the satin, and it’s held up well so far.

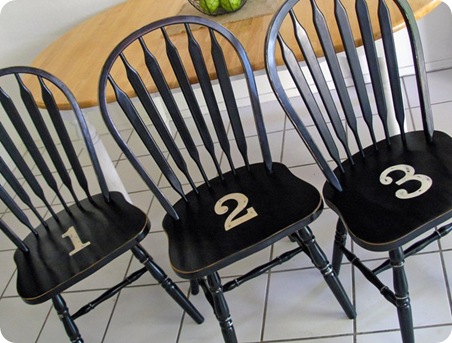
So there you have it! How I did my painted number chairs . . .
P7150008

xoxo
Monday, September 13, 2010

Antique Picture Frame

Just got back from a whirlwind trip to Utah. My sweet Grandma Mae passed away peacefully a week ago yesterday. She lived a long life of 95 years. We will miss her greatly, but happy that she is finally at peace.

My Grandma Mae was actually my step-grandma. My real grandma passed before I was born . . . so my Grandma Mae was the only grandma I ever knew . . . and I never was the wiser. She treated me like her own, and I loved her very much!

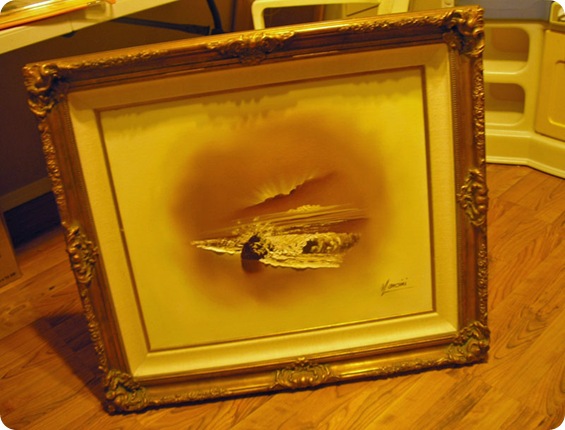
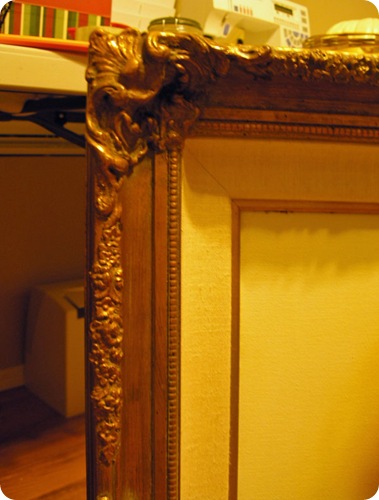
My grandpa passed away many years ago, and left a lot of things in the care of my grandma. But since her passing, her own children decided to return his things to my family. One of which was this vintage wood carved frame and painting . . .

OLYMPUS DIGITAL CAMERA

My mom had put it out on the back porch, and as soon as I walked passed I thought it was beautiful! I asked my mom about it, and she said she didn’t know the artist or how it had come to be in my grandpa’s possession. Sooooooo . . . . I asked her if I could have it? :)

She thought about if for a second, and finally decided that if I promised to take good care of it then I could have it . . .

P9120022 rev

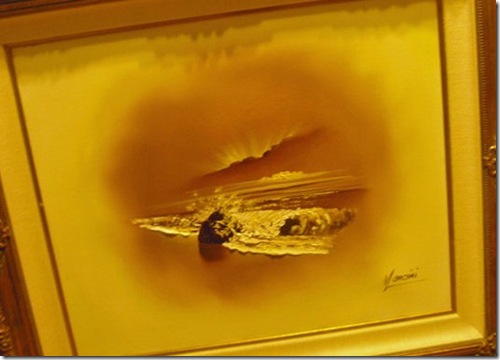
None of us recognized the artist or the painting. So I think I will pop the canvas out and do some research to see if I can find out anything about it . . .

OLYMPUS DIGITAL CAMERA

But in the meantime I want to do something lovely with the frame. Just look at the details!

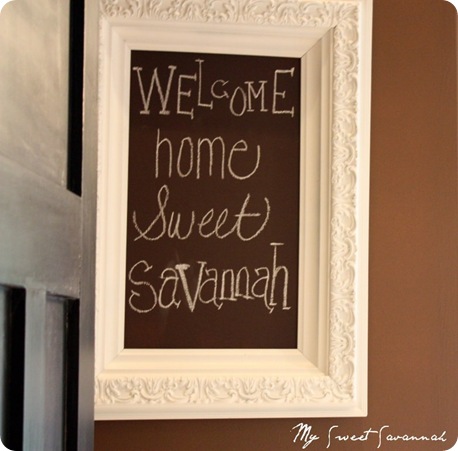
Right away I thought about Melanie from My Sweet Savannah. She makes her own shabby chic frames, and also collects antique ones. These are a few of the ones she has around her house . . .

day 2 014 day 5 159 kim christmas 21

The last one is my favorite. The shape is so unique, I love the grey paint, and I’m a sucker for chalkboards :P So I might try to do something like it for my living room . . .

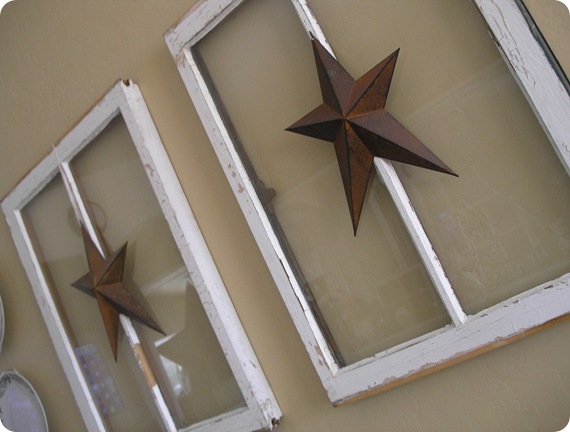
Because you know the vintage windows I currently have on my living room wall . . .

P1060173 rev

Well, my husband is convinced the chippy lead paint is poisoning our daughters. I beg to differ . . . but the girls do often climb up on the back of the sofa and bump up against the windows. So I might choose to go the “better safe the sorry route” and move the windows to our master bedroom. We’ll see! ha ha . . .

Any other ideas on what to do with the frame??

xoxo
Friday, September 3, 2010

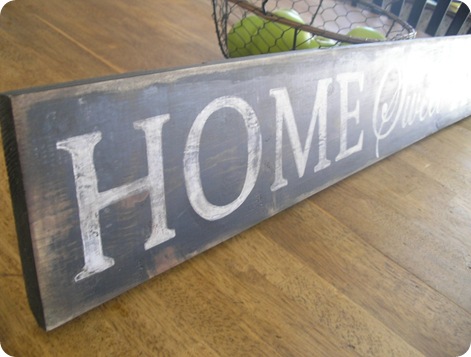
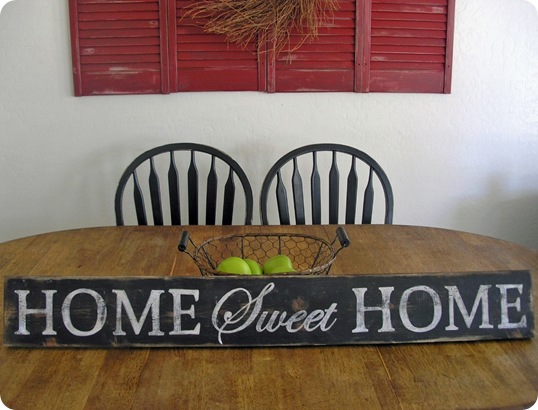
Copycat: Home Sweet Home Sign

Last fall I stumbled onto Karla’s blog and fell in love with these paper bats that she decorated her front porch with for Halloween. I loved them so much I decided to do make my own too. They were so easy and worked out just perfect for our Halloween porch decor!
But the bats weren’t the only thing on Karla’s porch that caught my eye. I also fell in love with this sign above her door . . .

2009_10_13_IMG_8908

I’m a sucker for wooden signs anyway, and this one was no exception. So you know what I had to do . . . make my own :)

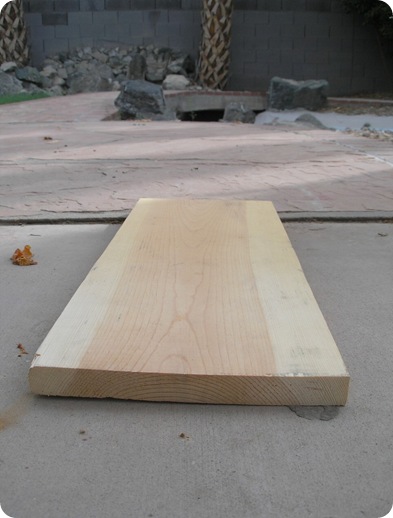
I started out with a simple piece of 1x6 scrap wood . . .

P8060096

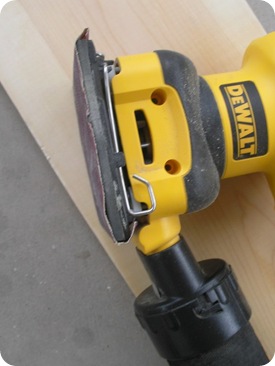
Sanded it down, and beat it up . . .

P8060099P8060098

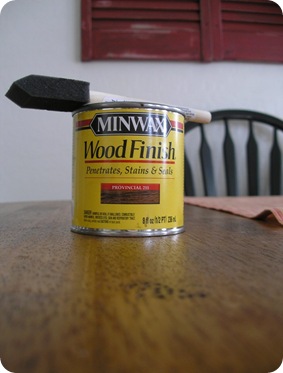
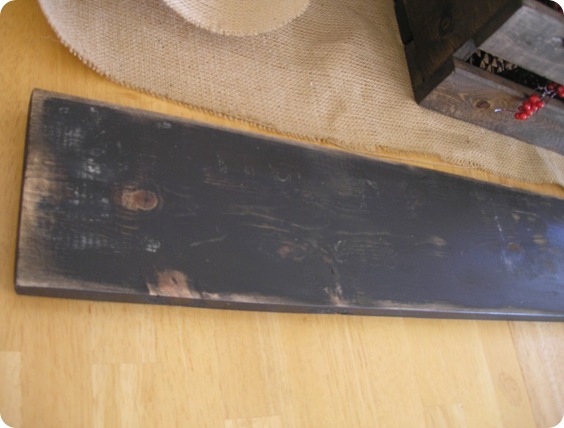
Then I spray painted it black, roughed it up with the sander again (150-grit paper), and covered it with some provincial stain . . .

P8060100P7290084

And this is what I had after all that . . .

PC030006

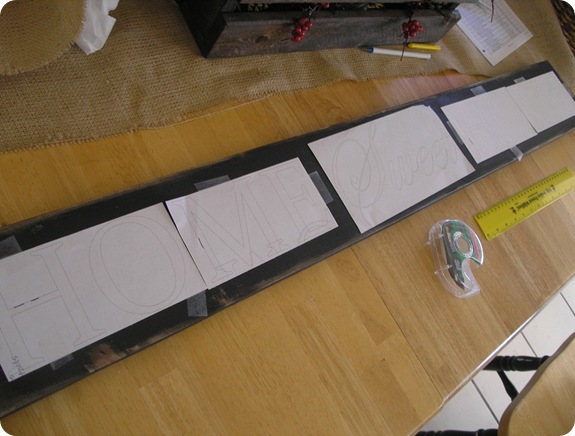
I printed out “HOME Sweet HOME” off my computer. Then I proceeded to cut, measure, tape, move around . . . and then cut, measure, tape and move around some more. Ha ha . . .

PC030007

It was a little tricky getting it lined up just how I wanted, but eventually I had it.

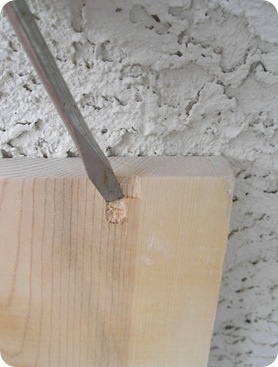
Then all I do is trace over the writing as steady as I can with a ball-point pen. When you pull off the paper, you should have a light indentation that is easy to follow, but not really visible unless you’re looking for it.

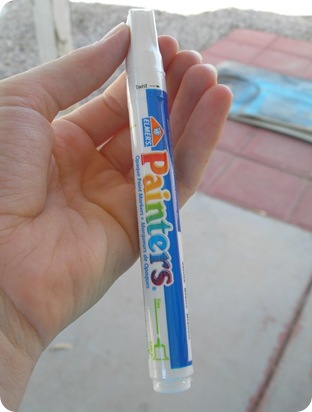
Most of the time, I hand paint the lettering, but for this sign I just used my handy-dandy paint marker to fill in the sign. . .

P8070015

A little more distressing with the sander, and this is what I had . . .

P8250091 (2)

P8250092

Definitely not perfect, but just perfect for me :)

P8250090


EDITED TO ADD: The fonts I used were Constantia for "HOME" and Edwardian Script for the "Sweet," which were both found free in my 2003 version of Microsoft Word. I'd love to see pics if anyone of you decide to make your own too :)

xoxo